Starting a new cross stitch project is always a little exciting but there is a lot of work to do before you can get on with the fun part of putting those first stitches in but good preparation shouldn’t be overlooked.
How big should my fabric be for my Cross-stitch project?
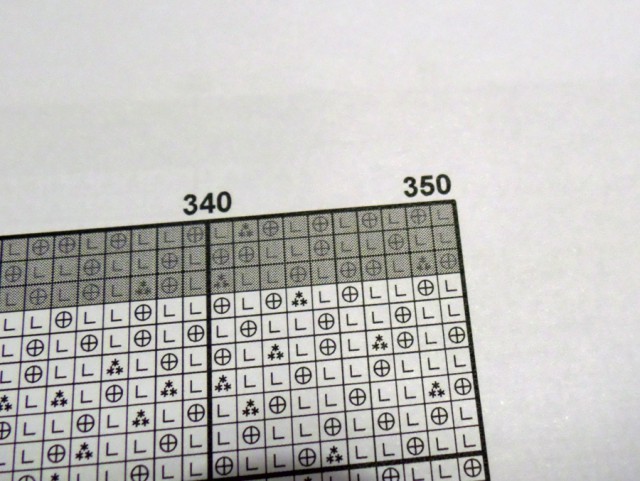
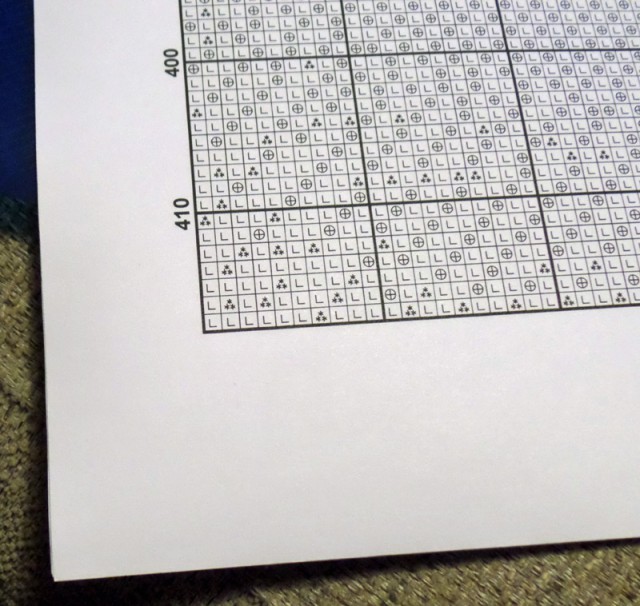
I start with working out the size of fabric that I’ll need for my project. First thing I do is to take the number of stitches from the chart. On most
In the pattern pictures, you can see that I’ve taken the last page of the chart to check the width and height of the design. So for the
Now for the working out bit, you can get stitch calculators to do it for you but I prefer to use a regular calculator for working out. As I measure fabric in holes per inch I do all of my measurements in inches.
I’m stitching this project on 28
Adjust your fabric size based on what frame you’ll be stitching on.
Now to add on the additional fabric for framing, this is usually down to preference but the recommended is an additional three inches for each side which would mean adding six inches on to the width and height which would give us 18.5 inches x 21 inches. My preference depends on what frame I’ll be using. For this project I know that I’ll be using my q-snaps so to give me plenty of room to clip my fabric to the q-snap I like to have 4 inches at the edges so I’ll be cutting my fabric 20.5 inches wide by 23 inches high.
If I was going to be stitching this on a scroll frame I would stick with the 3 inches on the width and use 4 inches on the height so that I have plenty of room from the top of the fabric to give me a comfortable stitching position on the frame for the first row of pages.
How do I stop the fabric edges fraying?
These projects are long-term projects and you really should protect the edges of your fabric to prevent them from fraying. There are a number of ways to do this from covering the edges with masking tape or a product called Fray Check to stitching the edges of the fabric with an overlocker sewing machine or using a regular sewing machine to run a zig-zag stitch around the edges. If you are using masking tape then I would recommend cutting off the taped edge once you’ve finished as the sticky residue could ruin your fabric after it’s been finished and framed.
I usually edge my fabric by hand stitching around the edges using a whip stitch. Needle through the fabric from the back so you get a loop around the edge of the fabric. The thread I use is leftover floss from old projects so my edges can be nice and colourful.
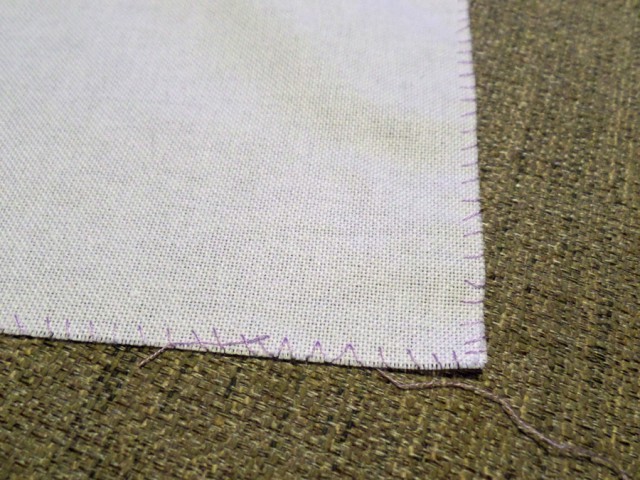
I wouldn’t recommend hemming the fabric if you are using a scroll frame. Hemming will give your fabric extra thickness at the edges so when you put the fabric on the frame the edges will be tight but you will not get a good tension on the centre of your fabric.
Can I start now?
If you start from the centre of a chart and you don’t grid then you’re all set to get stitching. But I like to double check my measurements by gridding the design and page outlines, it makes sure that I get the orientation right (believe me you wouldn’t be the first to realise you’d turned your fabric 90 degrees when you started stitching).
When I’m doing the outlines I get the top horizontal line in first. I use Gutterman Sulky metallic as it’s nice and fine, you can also use a coloured fine fishing line. What you want to use is a thread that you cannot stitch through and will slide out easily from your completed stitching. If you use the sulky be careful with the colour because some can transfer their colour to your stitching when you pull them out. Red is usually the worst for this but I did get a nice green which I noticed left a stain on the fabric (luckily I noticed when I was putting in the first line so I could make an adjustment to avoid the mark. Right now I’m using shade 8033 which is a nice pinky rose colour.
I’m using a 4 inch edge so I’ll measure 4 inches in from the top and the edge to find my first stitch bringing my needle up from underneath the fabric then I’ll count ten holes (1 being the next empty hole) and put the needle down into the tenth hole. Then count another ten holes and bring the needle back up from the back of the fabric. Repeat until you’ve reached the total number of stitches in your width.
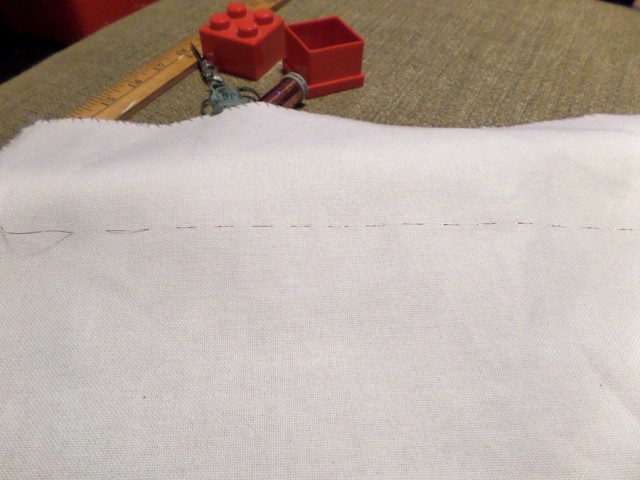
If my fabric has a selvedge then I have this on the left hand side (as I look at it) so I know where I’ve started the outlining. If I don’t have a selvedge then I’ll do a nice big cross in the top left corner of my fabric. Once you’ve done the whole outline it will be more obvious where your top edge is but make sure you can identify it in the event of those interruptions we always get when we’re trying to concentrate.
Once the top line is in I put the vertical line in on the left hand side so I can work from that first hole. After that just finish the outline by putting in the bottom horizontal line from the last stitch of that vertical line and finally the remaining vertical line from the last stitch of the first horizontal line.
If you’ve counted correctly then your lines will join up at the corners, if they don’t join up it’s just a miscount somewhere. I did it on this example, I put the final vertical line in and instead of counting 7 stitches and forming a nice corner at the bottom I was still one away from the bottom line. A quick check back up that line and I found where I had put the needle in after 9 instead of 10, it doesn’t usually take long to fix but there is that arrrgh moment when you know you have to check your counting.
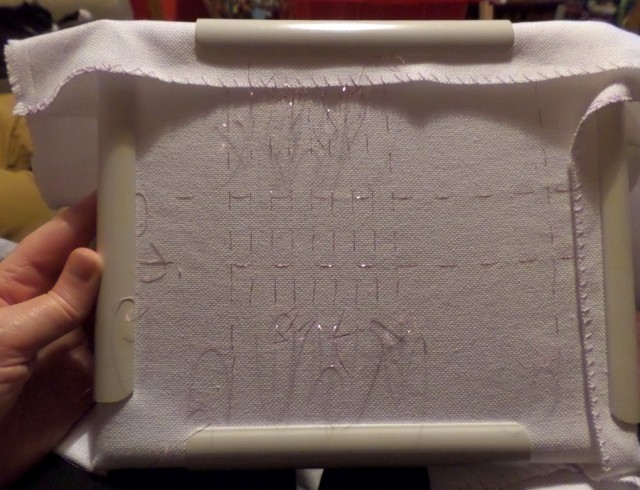
Anyway here it is with the outline complete and I can be happy that the design will fit onto my fabric.
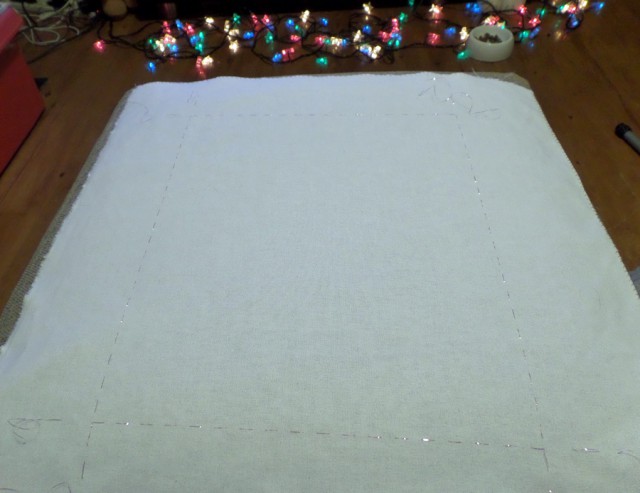
Next the page outlines
Now that I’ve got the design outline I’ll put in more lines for the page outlines. I generally start with the horizontal lines using the pattern to find the number at the bottom of each row of pages. Remember you already have the tens marked on your vertical line so you don’t have to count from 1 to find your place. I usually end up counting how many whole blocks down and then then number of stitches on the last part block. On this chart the first row of pages is 98 stitches high so I’ll quickly count down 9 of the 10 stitch blocks and then count 8 stitches down the next block to find the starting point for my line.
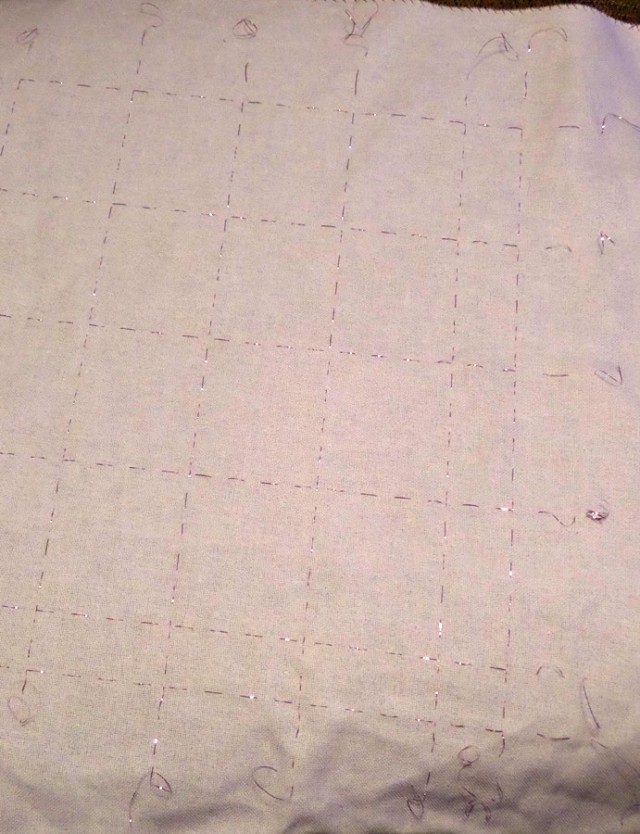
Eventually you’ll end up with your outline divided up like the picture below…
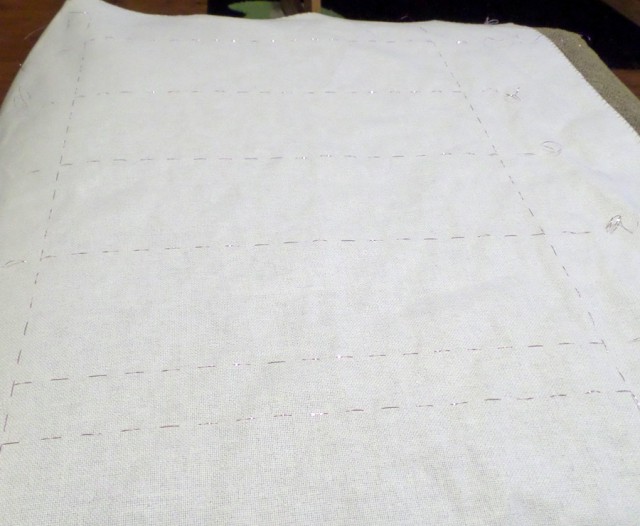
Then you just do the same with the vertical lines, the first one on this chart goes in on stitch 80 of the top horizontal line. Finally when those lines are in you’ll have a nice outline of the whole thing and you should be able to see from the layout of the pages where your page one is. The partial pages run down the right and along the bottom…
More Gridding
About this point I’ve had more than enough gridding and I’m itching to get started. Some people will go through and add grid lines for each 10×10 square on the fabric for horizontal and vertical lines. I’m a little more lazy and only grid what I need to so I’ll pick my first page and stitch in the vertical grid lines for that page only.
I do like to work with a grid and it does take a lot of effort but it does mean that I can jump around the page if I’m stitching cross country or use it to find the next place to park my thread if I’m parking. Doing the page grid means that if I want to I can just around jump around different pages of the entire design (helpful if you have a lot of plain background pages).
Hope this helps you with your cross-stitching – I’ve also created a parking guide for those who want to try an advanced x-stitch technique which may speed up your time to completion.
2 Comments
I guess because I am nearing 66 I find this very overwhelming . I’ve always marked the centre and vertical centre but, I am tired of starting in the centre I want to start at the top an work down. I suppose I will have to learn this. Thanks for the good post.
I meant to ask. I didn’t quite understand if you meant not to zig zag or whip the sides and ends when using a scroll rod.